
A Guide to Road-Tripping Round New Zealand
- Carys Reid-Davies
- Jan 24, 2020
- 5 min read
Updated: Mar 24, 2020
For as long as I can remember I’ve wanted to go travelling. I mean real travelling. Months away from home in foreign cities, being submerged into different cultures and immersed in a completely different climate and cuisine. Finally, the time had come, and better still I was with my best pals.

Now four months is a long time so rather than write out a very long and drawn out account of it all, I thought I’d break it up into sections. We started in New Zealand and crammed a lot into three weeks so I thought I’d do blogs for separate sections of the journey so I’ve broken our New Zealand journey into three parts: The South, The West Coast (which is also on the South Island) + The North. First up, though, an overall guide and all you need to know about a road trip around New Zealand:
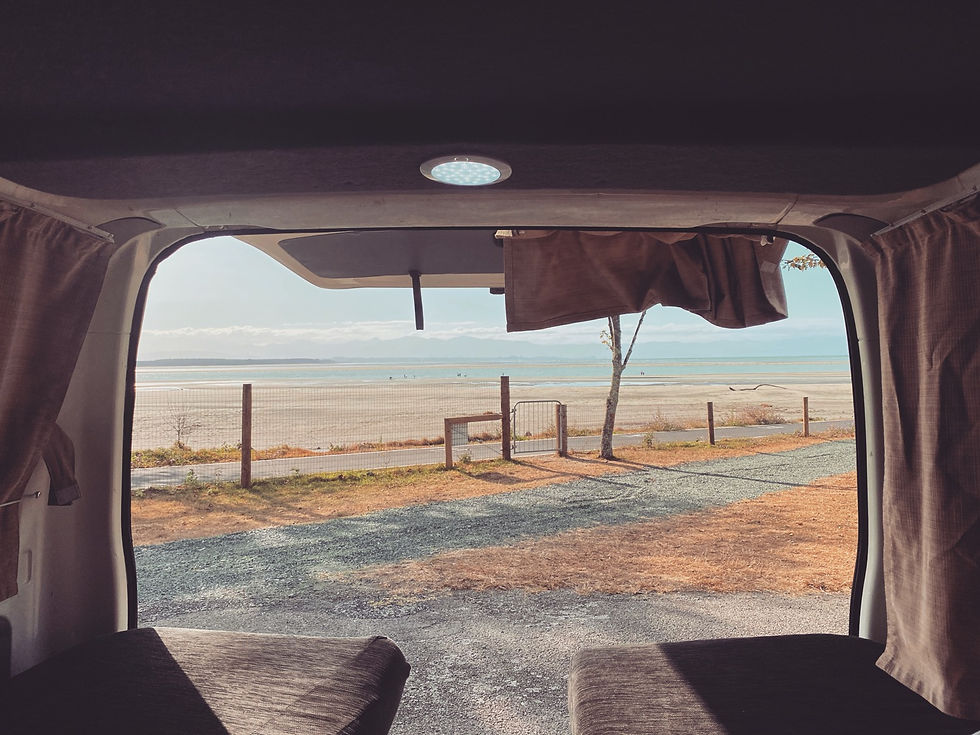
We hired a camper-van for the three of us (we ended up naming her Carol and all got very attached)! We went through Travellers Autobarn as we got a discount for this company having booked our flights through STA (for just under 3 weeks we paid £500 each). It was a fab camper and perfect for us, plus Travellers Autobarn were a great company to have gone with. It was also an automatic so driving was really easy (and it was physically impossible for me to stall)! I’d definitely recommend but other common camper vans included: JUCY, Spaceships + Britz. You could also book onto a KiwiE bus tour but they are very expensive plus New Zealand is so set up for camper vans. There are a few things worth noting though.
Top Tips
Campsites: there’s a great app called Campermate which allows you to see all the campsites available in New Zealand. There’s three brackets of campsite; free, low cost and normal (I.e. expensive). We managed to find a fair few free ones which were really nice but it is a risk as if they’re full you’re stuck. We also tried to use low cost ones elsewhere but they still range from between £4 to £10. In places like Queenstown we bit the bullet and got a nice one so we were close to the centre (plus every now and then you need a hot shower and you’re lucky if a free campsite has a toilet let alone a shower)!
Extra Equipment: we had to pay an extra £10 for sleeping bags, cutlery, pots and pans etc in the camper van.
Water Dumping + Refilling: with camper vans you’ll have to dump you’re dirty water once you’ve used it all and then refill the tank. There’s plenty areas to do this but again use Campermate as it will show you specific places. We had to dump and refill every couple of days (you’ll be amazed how much water you get through)!
Gas: you’ll likely have a gas cooker and when returning the camper van you don’t only have to have a full tank of petrol, but also a full gas canister. We were told if we didn’t fill the gas we’d be charged £25 which we considered doing to save the hassle but it turned out refilling our gas came to a grand total of £1.25!
Self Contained Campers: our camper van had a porta poti (which none of us used) but by having a toilet a camper van is considered “self contained”. This is really useful as most free and some low cost campsites require your vehicle to be self contained.
Toilets: as I mentioned, none of us used the porta poti (the notion of cleaning it out meant squatting behind a tree was a far more appealing prospect) but something to note is that New Zealand has lots of public toilets (you can use Campermate to see them).
Petrol: I know you’re probably thinking “duh, of course you have to get petrol”, but it’s worth taking into account when estimating how much you’ll spend.
Passing Bays: there’s certain areas of road called passing bays which are really useful. Whenever one comes up you can go in the left lane and let faster vehicles pass. Otherwise, keep an eye out for long trails of cars behind you and consider pulling over to let them pass (it’s kind of just etiquette in New Zealand).
Scenic Routes: sometimes you’ll see an option to take a “scenic route”, especially in the South Island. Whilst very pretty, these roads tend to be more twisty turn-ey and do take a bit longer. They are beautiful though so weigh up what you’d prefer; shorter journeys or more scenic views.
Supermarkets: ‘Countdown’ is the name of a supermarket in New Zealand which is effectively the equivalent of Tesco’s. In villages and towns there’d usually be a ‘4 Square’ and in the North we noticed a brand called ‘New World’. Just note they don’t sell spirits in supermarkets so you’ll have to go to special liquor stores if you want to expand beyond beer or wine. Also, to make things cheaper try getting food and cooking as much as possible in your camper but have a few nice meals out every few days (definitely save a meal out for Queenstown)!
Planning Your Journey
North vs South
We spent the majority of our time in the South which seems to be the done thing. The South is far more rural and very beautiful with lakes, national parks, glaciers, hikes, adrenaline activities and the West Coast. We actually only spent a total of 5 days in the North and we still managed to do everything we’d wanted.


The South has turbulent weather though as the jungle on the West Coast can be subject to rain and it’s definitely colder (we were very lucky, it only rained once the whole time)! The roads are also harder to navigate and there’s often delays due to rocks blocking the road or just general roadworks (again we were lucky but a week before we left a key road had been shut due to it being washed away. Thank god it was repaired by the time we got to it)!
Also, be warned there are very few roads so whilst two places may look close on a map you’ll likely have to go on a wild goose chase to actually get there. This also means if a road is closed or blocked you could be seriously scuppered as there’s very few alternative routes (if any at all)!

Our Route
South
Christchurch - Lake Tekapo - Lake Pukaki - Mt Cook - Queenstown - Wanaka - Franz Josef - Punakaiki - Nelson - Abel Tasman - Picton (Ferry to Wellington)
North
(Wellington) - National Park Village - Taupo - Matamata - Owharoa Falls - Auckland

Budgeting
I’ve broken our rough spending into categories to give an idea of how much you’d get through. We really splashed out on activities, though, as we did both a bungee jump and a sky dive (both of which were +£150) but I couldn’t recommend them more!
Petrol
£115
Food (bought from supermarkets)
£60
Eating / Drinking Out
£180
Activities (Bungee / Skydive / Hobbiton / Gondola)
£375
Campsites / Hostels
£85
Overall, we spent around £900 actually in New Zealand, excluding the £500 for our beloved Carol. we really didn’t hold back at all and there is no doubt in my mind it was worth every penny!


Comments